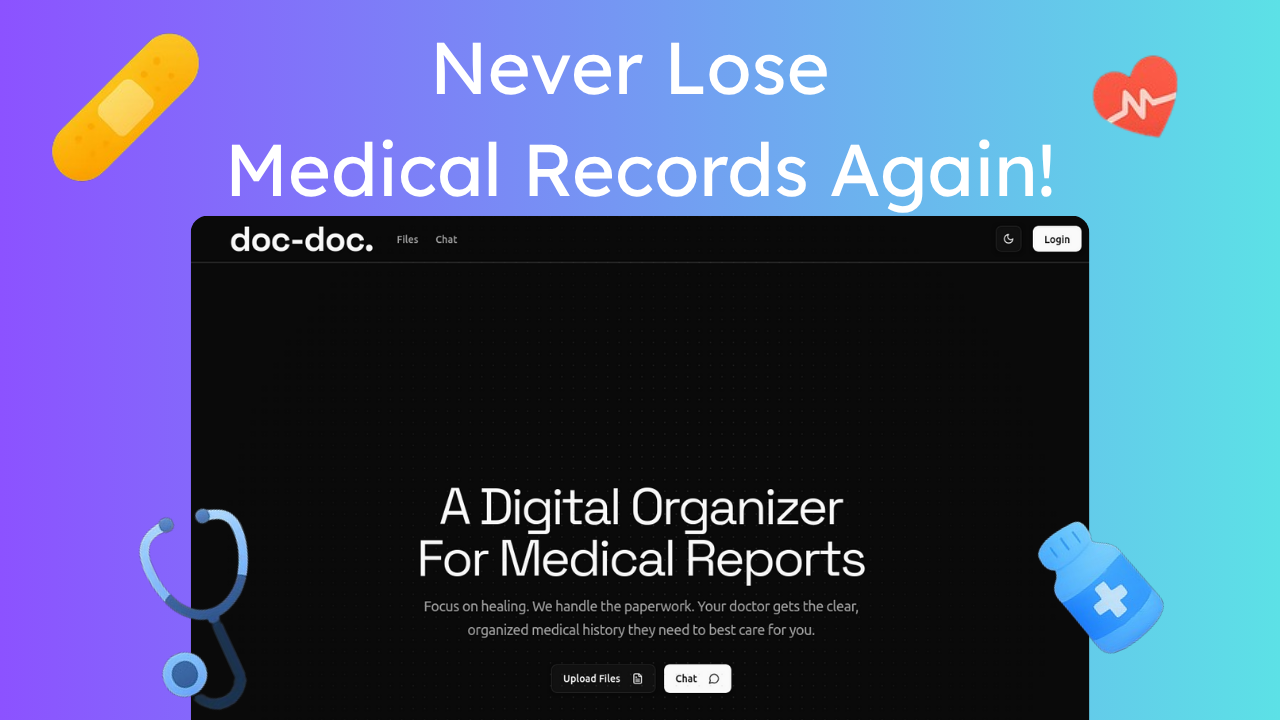
doc-doc is a open-source digital organizer for all your medical reports.
How does it help you?
- If you're a patient: It brings all your medical records—from every doctor and lab—into a single, organized timeline. Your entire health history, always with you.
- If you're a doctor: It saves you critical time by presenting a smart summary of a patient's records the moment you need it.
The most powerful part? Both patients and doctors can chat with the records to find specific information instantly. Need to know the date of the last blood test or a specific dosage? Just ask.
doc-doc: All your medical data, organized and instantly searchable.
Why?
I was learning and experimenting with these new and powerful web technologies, and wanted to build a full-fledged project using them, then I read this article by @itsarnavb.
I felt that the idea can have a real world impact so I started.
Key Features
-
Effortless Upload: Simply add your medical files, whether they are PDF reports, images of prescriptions, or scans like X-rays.
-
Automatic Organization: Our AI instantly sorts everything for you into clear, simple categories like Prescriptions, Reports, Scans, and Billing.
-
Find Files in a Flash: Quickly find any document you need. Just filter by a category to see all related files in one place.
-
Get Clear Answers: Ask questions about your health in plain English (e.g., "What did my last blood test say?") and get easy-to-understand answers sourced directly from your records.
-
Track Your Conversations: All your questions and the AI's insights are saved, so you can easily look back at your health journey.
Tech?
Learnings and Resources
I really enjoyed building this application. Here are a few technical learnings that I have had along the way.
Setting up a monorepo
This was my first full-fledged project using Turborepo as a build system, and I have to say, the DX has been awesome. There was a learning curve, but once I moved past the initial challenges, I really started to enjoy the workflow.
The most crucial concept to grasp is adding internal packages.
Let me walk you through it using the db package as an example.
First thing to understand is that packages like db, api, ui, act as a library to the consumer application (apps/web in this case).
Think of it like adding any package/library from npm to your applications.
Now to create a package you just need a package.json file with the name property assigned to it, like @workspace/db.
You can then use this name it install this library in other apps or packages.
Next add the core logic of the package, in my case I have added all the logic in the src directory for the db package.
Now comes the crutical step of building and distributing the code.
Let's look at some key properties and understand the rationale behind it.
We will look at the package.json and tsconfig.json files from the db package. You can explore the rest on your own.
here are the important stuff:
- "name":
"@workspace/db": This is the unique identifier for your package. The @workspace/ scope is a common convention for internal packages in a monorepo. When yourwebapp wants to use this package, it will import from@workspace/db.
"scripts": These are the commands you run for this specific package.
-
"build": "tsc -b": This compiles your TypeScript source code (src) into JavaScript output (dist) using the TypeScript compiler (tsc). -
"dev": "tsc --watch": This command watches for changes in your TypeScript files and automatically recompiles them as you code.
"exports": This is the modern way to define the public API of your package. It controls what other packages are allowed to import.
-
".": { ... }: This defines the main entry point. An import likeimport { db } from "@workspace/db"will resolve to thedist/index.jsfile. -
"./schema": { ... }: This creates a secondary entry point. It allows other packages to directly import your database schema, likeimport { users } from "@workspace/db/schema", which resolves todist/schema/index.js.
Now let's talk about the tsconfig.json's setting
"compilerOptions":
-
"composite": true: It tells TypeScript that this project is part of a larger project and can be referenced by other projects. It enables faster incremental builds because TypeScript can use build information (.tsbuildinfo) to recompile only what has changed. -
"rootDir": "./src": Specifies that all the source TypeScript files are located in thesrcdirectory. -
"outDir": "./dist": Specifies that the compiled JavaScript output fromtscshould be placed in thedistdirectory. This keeps the source code and compiled code neatly separated. -
"tsBuildInfoFile": "./dist/.tsbuildinfo": This tells TypeScript where to store the build cache file. Turborepo uses this file to understand what has already been built. -
"paths": { "@workspace/db/*": ["./src/*"] }: This is a path alias. It allows you to use cleaner, absolute-like import paths within this package itself. For example, if you are insrc/queries.ts, you can import fromsrc/schema.tsusing@workspace/db/schemainstead of a relative path like./schema.
Ok, hope it was not to much to take.
One last detail in the package/api/tsconfig.json you will see a line:
What is this for?
This references section is the key to making TypeScript understand the relationships between packages in the monorepo. It tell that api is dependent on db package, and thus helps in the build order and dependency resolution.
Resources that helped:
Using trpc with tanstack query
trpc and tanstack query work really well together. It gives complete type safety while data fetching without manual type synchronization.
You get intellisense for input arguments, procedures, ... All this with the usual goodness of tanstack query.
Also when using trpc you should consider using trpc-ui, It gives you testing UI and documentation for your trpc procedures.
Resources:
Advanced Data Fetching with SSR Streaming
To optimize file fetching, I've implemented SSR Streaming with a powerful pattern that leverages React.Suspense, React.useTransition, and TanStack Query. This approach prefetches data on the server, significantly improving the user experience.
The detailed mechanics of this implementation deserves a dedicated post. In the meantime, feel free to explore the data fetching logic in the source files. Let me know if you'd be interested in a deep dive!
Tanstack table with Server side sorting, filtering and pagination
While tanstack table are quite performant with client-side sorting, filtering and pagination. I wanted to explore it on server-side. This awesome shadcn-table repo by @sadmann17 was exactly what I needed. I made some changes based on my tech stack and requirements but the core implementation is largely based on that fantastic work.
Building the AI Features
The main part of this project was its AI features. Since I had built RAG applications with the AI SDK before, building these features was both fun and fast.
I got ideas for the user experience from this repo and then added my own features to it. These new features included image processing, categorizing files, and using async queues to handle requests at scale.
The AI SDK was a huge help, making it much simpler to build powerful AI agents with TypeScript.
Resources:
Processing async tasks
Since embedding the files are time taking and computationally expensive tasks. I used Inngest queues to handle the request. Overall it has a really strong DX, and its detailed dashboard provides a clear and convenient way to monitor the progress of each task.
Other essentials
Stuff like better-auth, drizzle orm and shadcn/ui were so intuitive out of the box that I don't need to explain them.
OSS ❤️
Since this project wouldn't have been possible without the OSS community and the projects.
This project itself is open source, go fork it, build something on top of it, use it as a starter template, build a product.
Thank you for reading, please star the repo on github, if you find it useful.